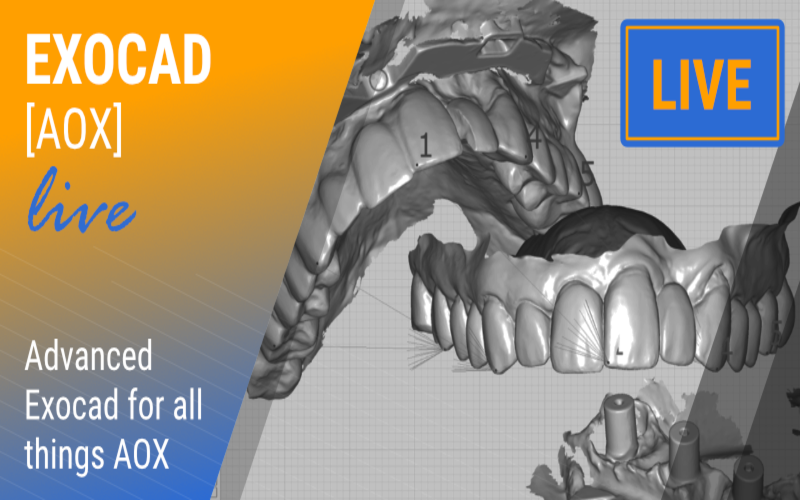
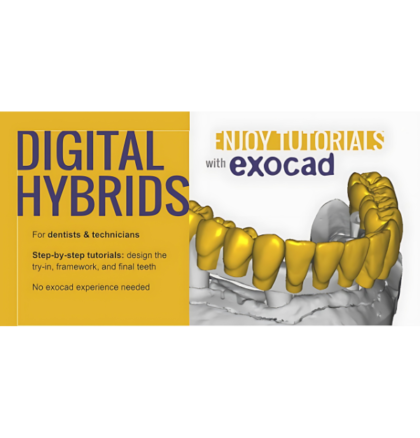
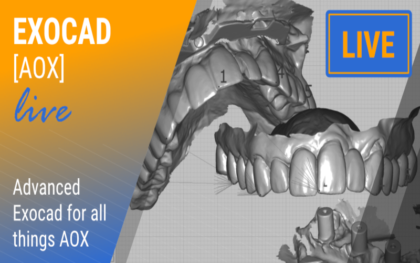
If you are not trying to do the CAD yourself, that is enough for success. But if you are wanting to bring the design in house, this is your next stop!! This course aims to expose you to multiple AOX workflows. We’ll start with an easy case, but will quickly find ourselves in the weeds of full arch EXOCAD!!
Course Outline:
1) Standard AOX
2) More challenging AOX
3) FP1 arch
4) Copy Design (from a scanned setup)
5) Predesign (preparing for surgery)
6) Immediate Design – iMetric
7) Immediate Design – MicronMapper
8) Final Design – OptiSplint
9) Final Design – Tupel/Grammy
10) Blender Bar Module
and all the tips and tricks in between!
Course Objectives:
1) Understand the basics behind AOX design in EXOCAD
2) Transition from traditional AOX design into FP1 (crown and bridge) designs
3) Learn to maneuver the world of photogrammetry and grammetry, both at surgery and going into finals
4) Preparing the files for surgery, where you will be able to design 90% of the prosthesis before surgery…and what to do right after surgery
5) Use Blender to take a monolithic design and turn it into a bar and sleeve design
We know the learning curve is steep enough just to understand EXOCAD, but it’s a firehose of information getting proficient in all of the various methods currently on the market for AOX. This course aims to get you going on the journey with a multitude of tools for success. THIS IS AN ADVANCED COURSE!! Please be sure you have used EXOCAD already and it would be best if you’ve at least designed some AOX arches. If you are just getting started with EXOCAD, consider starting with our course, BASIC EXOCAD, where we cover EXOCAD basics that build and build until the final lesson where we design an AOX.
Presented By: Nate Farley and Brandon Howell
16 Videos – Duration: 10 hours & 43 min – Files size: 2.87 GB






Reviews
There are no reviews yet.